Contact Me

Thank you so much for your interest in my work. I do my best to respond to all inquiries in a timely fashion.


123 Street Avenue, City Town, 99999

(123) 555-6789

email@address.com


You can set your address, phone number, email and site description in the settings tab.
Link to read me page with more information.

Blog

Praesent commodo cursus magna, vel scelerisque nisl consectetur et. Curabitur blandit tempus porttitor. Fusce dapibus, tellus ac cursus commodo, tortor mauris condimentum nibh, ut fermentum massa justo sit amet risus. Cras mattis consectetur purus sit amet fermentum. Cras mattis consectetur purus sit amet fermentum.


Filtering by Tag: decorations

Craft Ideas For Spring: DIY Party Hats!

Ryan Jude Novelline
 “Spring is nature’s way of saying, Let’s party!”
~ Robin Williams

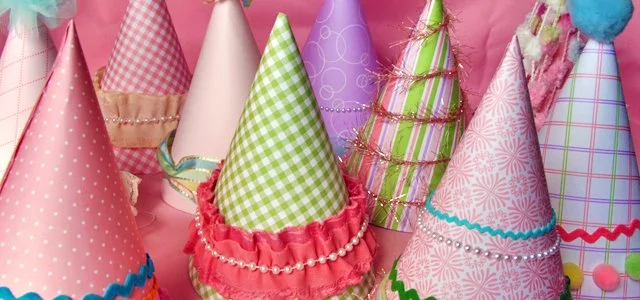
Looking for craft ideas for spring? Look no further! And what says a party like party hats?  Their coordinated whimsy invites children of all ages to celebrate!

When I decided that hats were a must for this year’s spring fling, I set out to buy them and quickly realized not only that the traditional cone hats were somewhat harder to find than they used to be, but also that non-branded and indeed seasonally-themed hats of any kind were virtually nonexistent. No worries, I thought… I will make them myself. And that’s just what I did. :)

Below are instructions, a template, and the details of my specific selections. Enjoy!

 ~

DIY Party Hats

Materials:


  • 8.5 X 11 sheets of card stock or scrapbook paper (one sheet per hat), designs and colors of your choice

  • scissors

  • glue gun

  • transparent tape

  • spool of elastic cord (each hat requires a 14-inch strip)

  • embellishments of your choice

Instructions:


  1.  Click on image below to access free template.

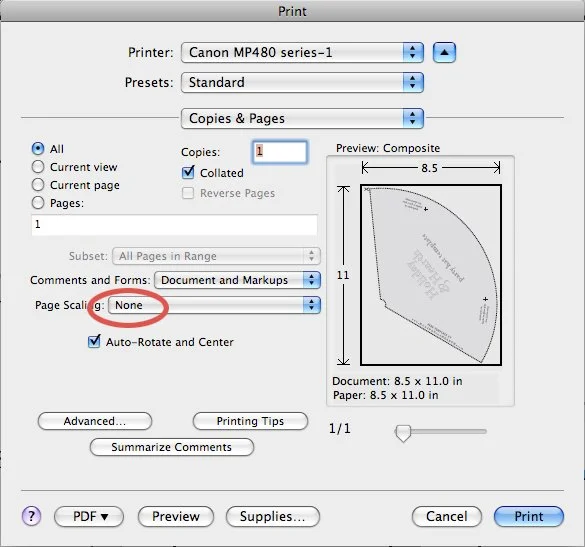
  2. Print template for tracing or simply print right onto the back side of the paper of your choice. As always, to ensure dimensional accuracy when printing templates, be sure to adjust your printer “Page Scaling” setting to “None”.

  1. Using scissors, carefully cut shape.

  2. Roll shape into cone. Be sure top and bottom join. Ideally top will “almost but not quite entirely” close. Allow slight overlap along seam.

  3. Temporarily secure paper in place on the inside with transparent tape.

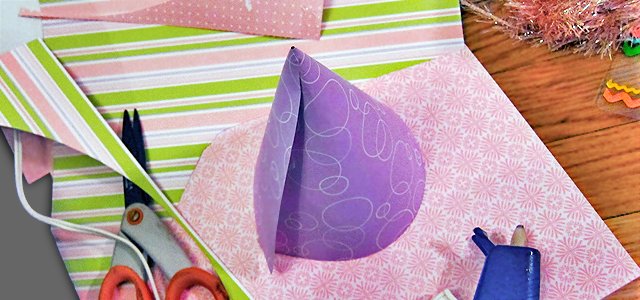
  4. Gently glue seam with glue gun. **Be very careful to avoid burns during this step, especially if children are helping. Very little glue will do the trick. (A little goes a long way.) And hot glue is very hot indeed. I found it helpful to secure the top in place before gluing the remainder. This ensured that my alignment remained accurate and allowed me to take my time with the hot glue. (See pic. below.)


  1. Remove tape if desired.

  2. Cut a 14-inch strip of elastic cord, and with a dab of hot glue, secure each end of the elastic to one of the  “+” signs on the template.

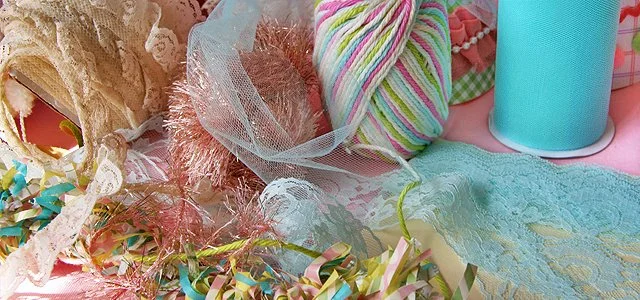
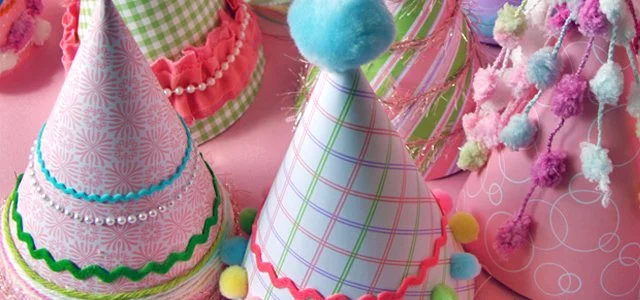
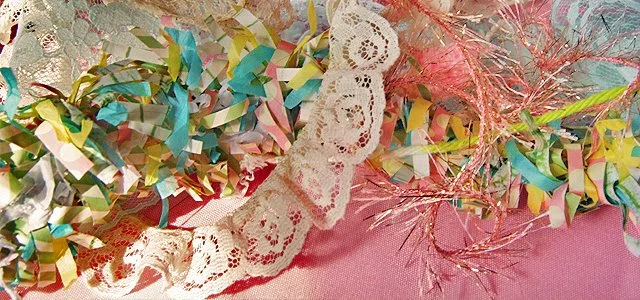
  3. Embellish using any accents of your choice. This is a great opportunity to repurpose left-overs from other projects. I dug into my craft scraps and found rick rack, lace, pom poms, yarn, just to name a few! Let your imagination soar!

And… voila! What fun!! Craft ideas for spring? Indeed!
Click here to check out the spring tablescape I created, which featured these hats!!
 “It’s spring fever.  That is what the name of it is.  And when you’ve got it, you want – oh, you don’t quite know what it is you do want, but it just fairly makes your heart ache, you want it so!”  ~Mark Twain

~

Happy crafting, and happy spring!
 Published: March 4, 2017
Craft Ideas for Spring: Tissue Paper Flowers!

Lisa Anne Novelline

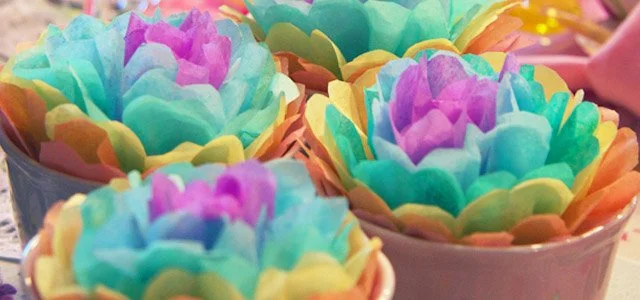
Looking for craft ideas for spring? Nothing announces this particular season like flowers, and these beauties… where to start?! Tissue paper flowers are easy to make and lovely to look at. They also have many decorative uses, exercise our creativity, tap into the amazing natural color palette of the season, and reconnect many of us to our youth (as most of us at one time or another fondly remember crafting them).

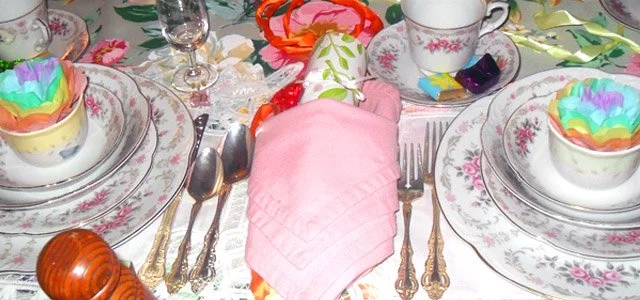
I decided to use these as an embellishment for my May Day place settings, but I had so much fun making them, I am now considering creating  a craft station for the day of our May Day Festival as well!

I refreshed my memory on the “how to’s” with the help of a very user-friendly set of directions from Disney’s Family Fun.

*NOTE: It has come to my attention that these directions have been removed from the website. To summarize:

  1. Assemble stacks of tissue squares. I used six pieces in each stack and varied the color.

  2. Fold each stack like a fan.

  3. Fasten in the center with a pipe cleaner stem

  4. With scissors round each of the sides of the fan.

  5. Create the bloom by holding the stem and separating each layer, one at a time, by gently teasing upward.

I then modified as follows:

  • I wanted small blossoms (the original instructions had been for large flowers) and so chose to use 6.25″ squares of tissue paper. I bought these precut from A Toy Garden (listed as “kite paper”) for the Spring Equinox Kite Making Craft Station. (It was wonderful to get another use from them so soon!) Feel free to purchase these, cut your own with the same dimensions, or alter the size any way you choose. Experimenting can be part of the fun!

  • I sliced two small notches on the center of each side in the tissue paper fans) to allow the wire to hold the tissue more securely in position.

  • I was out of pipe cleaners and substituted floral wire wraps.

  • I eliminated the green final touches as my flowers will not be visible beyond the bloom

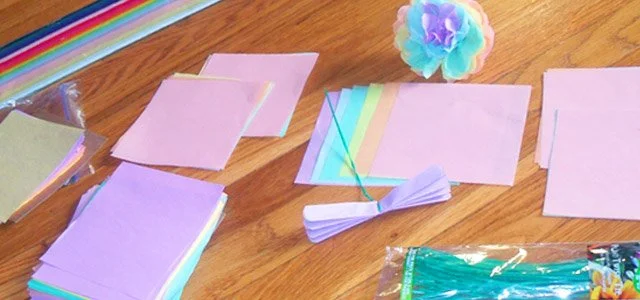
I laid out my materials in advance as I generally do. Then got to work!

* While crafting these I recommend opening a window (as long as the breeze is light), letting the sun shine in, and inhaling the fresh, spring air! :)

After I had finished, I was so pleased at how festive these little creations appeared (They practically seemed to sing that spring is all around) that I knew I must have hit on something magical!

Now might also be the time to mention what a super activity this is for children! Simple to perform, especially if the materials are prepared in advance and lovely to behold, making these flowers will likely bring joy to all :)

Ultimately in my home these will sit in small bowls on my dinner table, but the many possibilities are really only limited by your imagination! Sizes, colors, shapes… all your choice. Use what makes you smile! These flowers can lead not only to a fun-filled craft idea for spring but also to a lovely decorative accent for almost anything!

I am eagerly anticipating looking into other forms of paper flower making in the future, and as soon as I do, I will share what I find. In the mean time, enjoy this activity as among the light, breezy, and easy-peasy craft ideas for spring!

Have fun!!

Published: March 5, 2017